Home Office Setup: How To Create Your Perfect Workspace
- Updated:
About the author:
Ronel Hendry
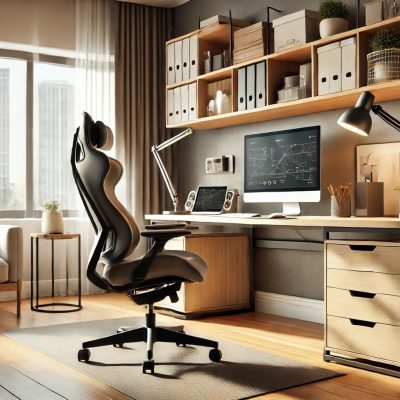
As remote work becomes more common, having a dedicated and well-designed home office setup is essential. A functional workspace improves productivity, reduces distractions, and enhances overall wellbeing. Whether you’re working from home full-time or occasionally, setting up your home office correctly can make a significant difference.
Your home office setup will have a huge impact on how much work gets done and how you feel, both physically and emotionally.
Here are the 9 important steps to guide you in setting up your perfect home office.
1. Your Home Office Setup Starts With The Right Location
The ideal home office setup starts with selecting the right spot. If possible, choose a quiet area away from high-traffic spaces.
Naturally, a dedicated room is best, but if space is limited, a quiet corner with minimal distractions can work just as well.
2. Invest in Ergonomic Furniture
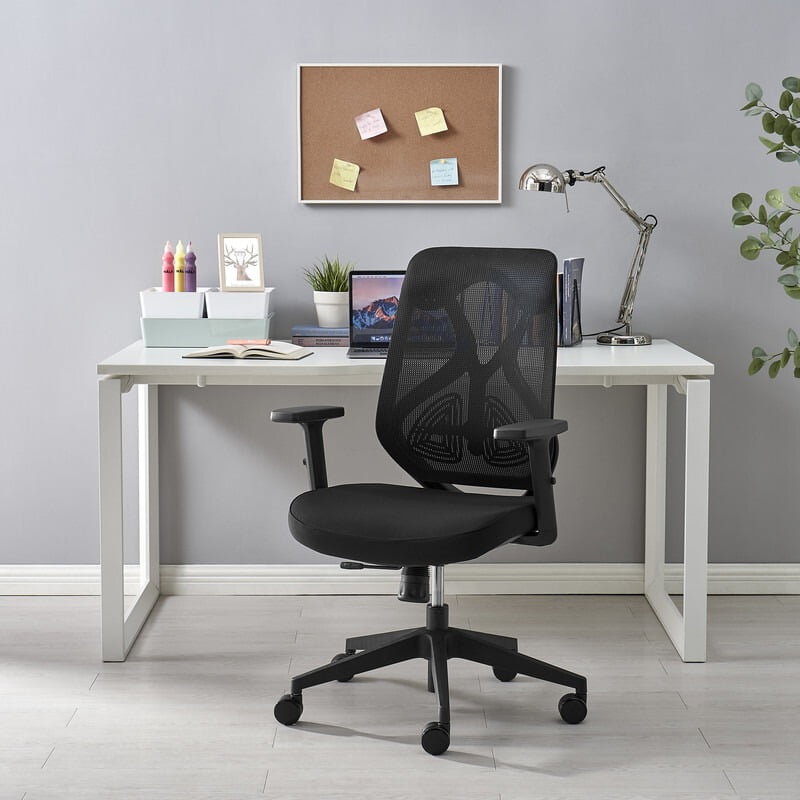
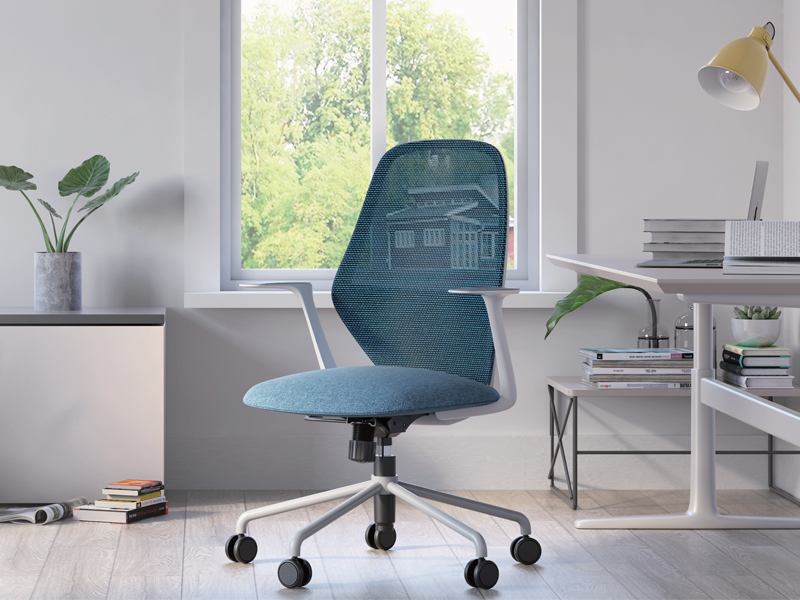
Your chair and desk are the foundation of your home office setup. Investing in an ergonomic office chair that supports your back and promotes good posture is crucial. 5 Best Ergonomic Office Chairs for Long Work Sessions
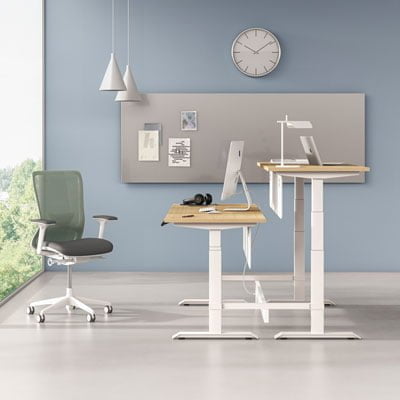
An adjustable standing desk can also help you switch between sitting and standing, reducing strain and improving circulation. The 7 Advantages of a Standing Desk
3. Correctly Adjust Your Chair, Desk and Monitor
The correct setup your chair and desk in your home office is the key to maintaining good posture and preventing discomfort and lower back pain.
Watch our short video that shows you exactly how to adjust your chair and desk for optimum comfort.
a. How to adjust your OFFICE CHAIR
First and foremost....move the chair AWAY FROM THE DESK.
- Sit back in the chair with your back positioned properly against the chair backrest.
- Check that the gap between the inside of your knees and the front edge of the seat. It should be about 3 fingers wide. If it is more that 3 fingers wide, increase the depth of the seat by adjusting the seat slider forward to extend the seat depth. If it is less than 3 fingers wide, adjust the seat slider backwards to shorten or reduce the depth of the seat.
- Now adjust the height of the chair. The correct chair height is when both your feet (with shoes), are flat on the floor and your knees are slightly lower than the level of your hips. By sitting with your knees below the level of your hips you reduce the rotation of the pelvis which in turn reduces the pressure in the lumbar discs. What happens when you sit?
- Adjust the height of the armrests so that when your forearms rest on the arm pads, your elbows are bent at approximately 900. Your shoulders should be relaxed and comfortable – in other words you should not have to lift your shoulders (armrests too high) or let them droop downwards (armrest too low).
- Adjust the width of the armrests to suit your body shape. Ideally the arm pads should be positioned so that your upper arm is vertical and not extended too far outwards away from your body.
- Rotate the arm pads so that your forearms rest comfortably over the full extent of the arm pad.
- Adjust the tension of the swivel mechanism so that it suits your body weight. When you relax in the chair, you should easily be able to recline backwards without using excessive force. As you recline, the spring tension should “balance” your weight. Some chairs are fitted with a Self-Adjusting Tension Mechanism that automatically adjusts to the weight of the user. See our range of Office Chairs with an Automatic Self-Adjusting Tension Mechanism.
- Adjust the height of the backrest and/or the position of the lumbar support so that it fits snugly in the lumbar region of your back. Ensure that you keep the spine in a natural position. Don’t over or under accentuate the inward curvature of your spine. Back support for office chairs.
- Adjust the headrest into a comfortable position. Tip: Placing your head back and touching the headrest forces you to push your shoulders into the backrest and lift up your chest. This lifts your diaphragm which enables you to breathe better. Improved breathing leads to better concentration.
b. How to adjust your DESK
Once you have set up the height of your chair correctly, move it towards the desk.
Your desk or table is the next component in your home office that needs attention. Adjust the height of the desk to approximately the height of your elbows.
- The top of the armrests should be inline with the surface of the desk. In other words, just like your forearms were resting comfortably on the arm pads, they should now rest comfortably on the desk with your elbows bent at about 900.
- If your elbows are bent at an angle much greater than 900, the desk is too low. RAISE THE HEIGHT OF THE DESK.
Do not lower the chair height because you will then sit with your knees above the level of your hips which will increase the pressure in the lumbar discs and quickly result in back pain. Furthermore, you will automatically hunch your back resulting in shoulder and neck pain. This is VERY IMPORTANT. If the desk is not height adjustable, use blocks of wood, old books, reams of paper etc, to raise the height of the desk. Alternatively, use a book or document holder to raise the keyboard and monitor. - If your elbows are bent at an angle much less than 900, the desk is too high. Lower the height of the desk. If the desk is not height adjustable, then RAISE THE HEIGHT OF THE CHAIR. This means that your feet will no longer be flat on the floor, so use a FOOTREST to support your feet. DO NOT let your feet dangle in the air.
- If you need to sit closer to the desk and only use the desk to support your forearms, lower the armrests so that they are under the desk when you work. Alternatively slide the arm pads backwards to allow you to sit closer to the desk.
Slay Study Sessions & Save Your Spine: Why an Ergonomic Study Chair Matters
c. How to adjust your MONITOR
Position your monitor at eye level, about an arm’s length away, to prevent neck strain. The top of the screen should be at or slightly below eye level.
4. Optimise Lighting
Natural light is ideal for reducing eye strain and boosting mood.
Position your desk near a window if possible. If natural light is limited, use a combination of ambient and task lighting to create a well-lit workspace. A modern LED desk lamp with adjustable brightness can help reduce glare on screens.

5. Technology And Your Home Office Setup
A smooth-running home office setup requires the right technology.
- Reliable Internet Connection: A stable and high-speed internet connection is crucial for video calls and online collaboration.
- Ergonomic Keyboard and Mouse: Reduces strain on your wrists and enhances comfort.
- Dual Monitors or Large Display: Improves workflow and reduces the need for excessive scrolling and window switching.
- Noise-Cancelling Headphones: Helps block out background noise for focused work and virtual meetings.
6. Organise Your Workspace
A clutter-free desk enhances focus and efficiency.
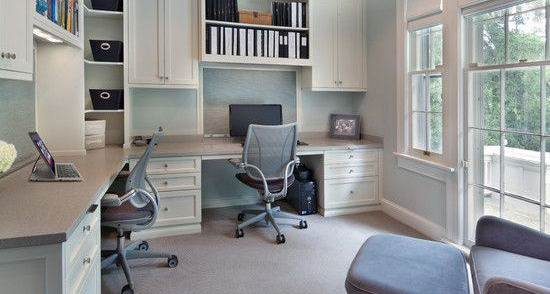
Use storage solutions such as shelves, filing cabinets, and cable management tools to keep your workspace tidy. A home office with a minimalist setup tends to promote better concentration and creativity.
7. Personalise Your Space
Adding personal touches makes your home office more inviting. Consider incorporating plants, artwork, or decorative elements that inspire you in your home office setup.
Small decorative objects on your desk or bookshelves, scattered cushions in your favourite pattern, plants and/or your favourite flowers and modern lights, are simple ways to reflect your individuality.

8. Manage Noise Levels
If external noise is an issue, consider using noise-cancelling headphones, soundproof curtains, or a white noise machine. Setting boundaries with family members, pets or housemates can also help maintain a quiet workspace.
9. Maintain a Healthy Work Routine
A great home office setup goes beyond furniture and technology. Establishing a work routine is crucial for maintaining productivity. Stick to a consistent schedule, take regular breaks, and incorporate movement and exercise throughout the day to avoid burnout.
Job burnout: How to spot it and take action
Conclusion
Creating the perfect home office setup requires thoughtful planning and investment in the right tools. By choosing an optimal location, investing in ergonomic furniture, and maintaining an organised and comfortable space, you can create a productive and enjoyable work environment. A well-designed home office enhances focus, efficiency, and overall job satisfaction, making remote work more effective and enjoyable.
By the same author:
Why a fully adjustable office chair is important
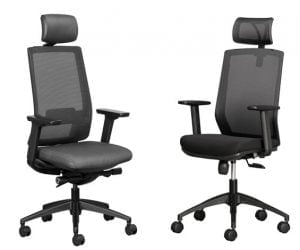
We are all different, so when you buy a new office chair, look for one that has all the adjustability features.
What are the health benefits of a document holder?
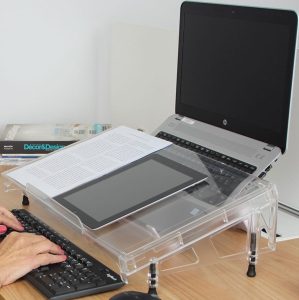
One of the best ergonomic accessories you can get is a document holder.

Unveiling the True Cost of Ergonomic Office Chairs: Are they Worth the Investment?
Although the upfront cost of ergonomic office chairs may seem high, over their lifespan they are a low-cost and smart investment.


